Standard/Instant Access or Dashboard PathDocumentation Index
Fetch the complete documentation index at: https://docs.aptlystar.ai/llms.txt
Use this file to discover all available pages before exploring further.
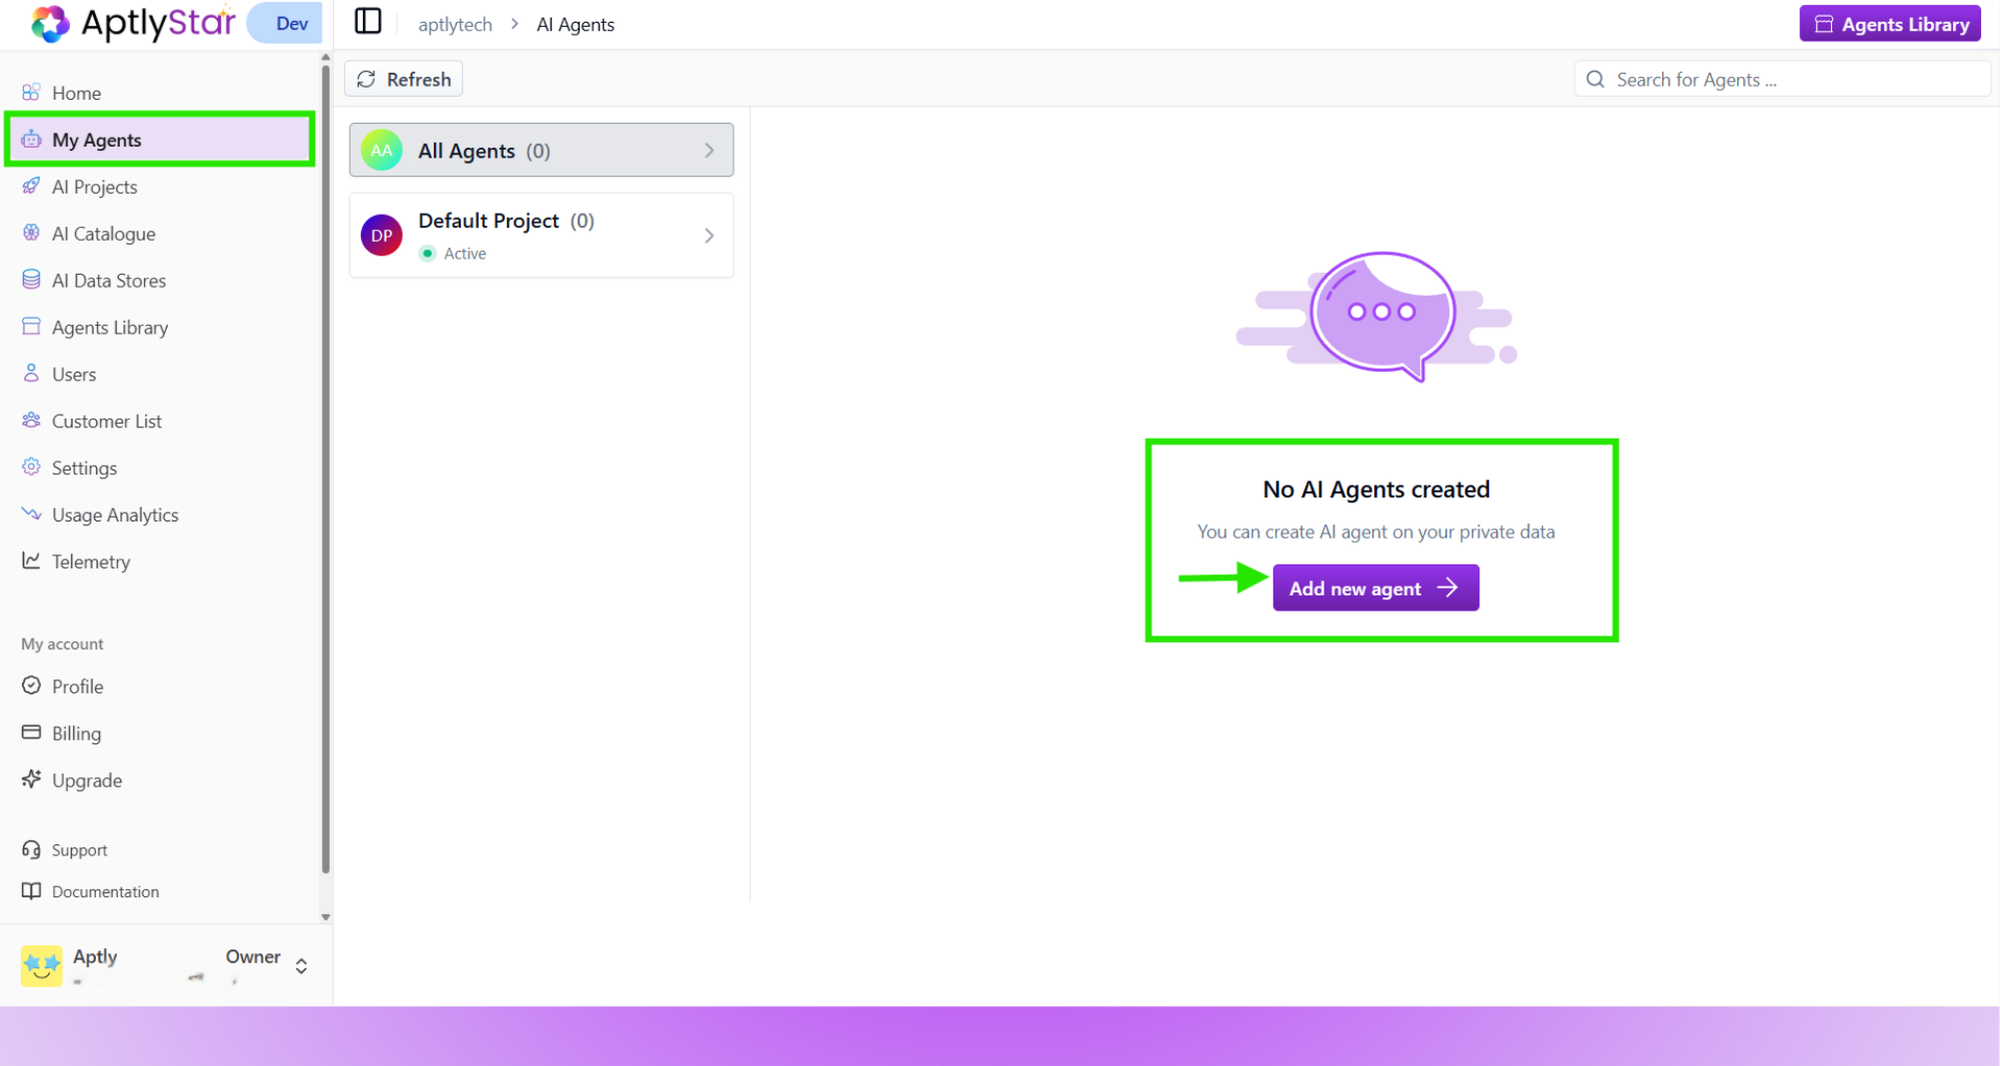
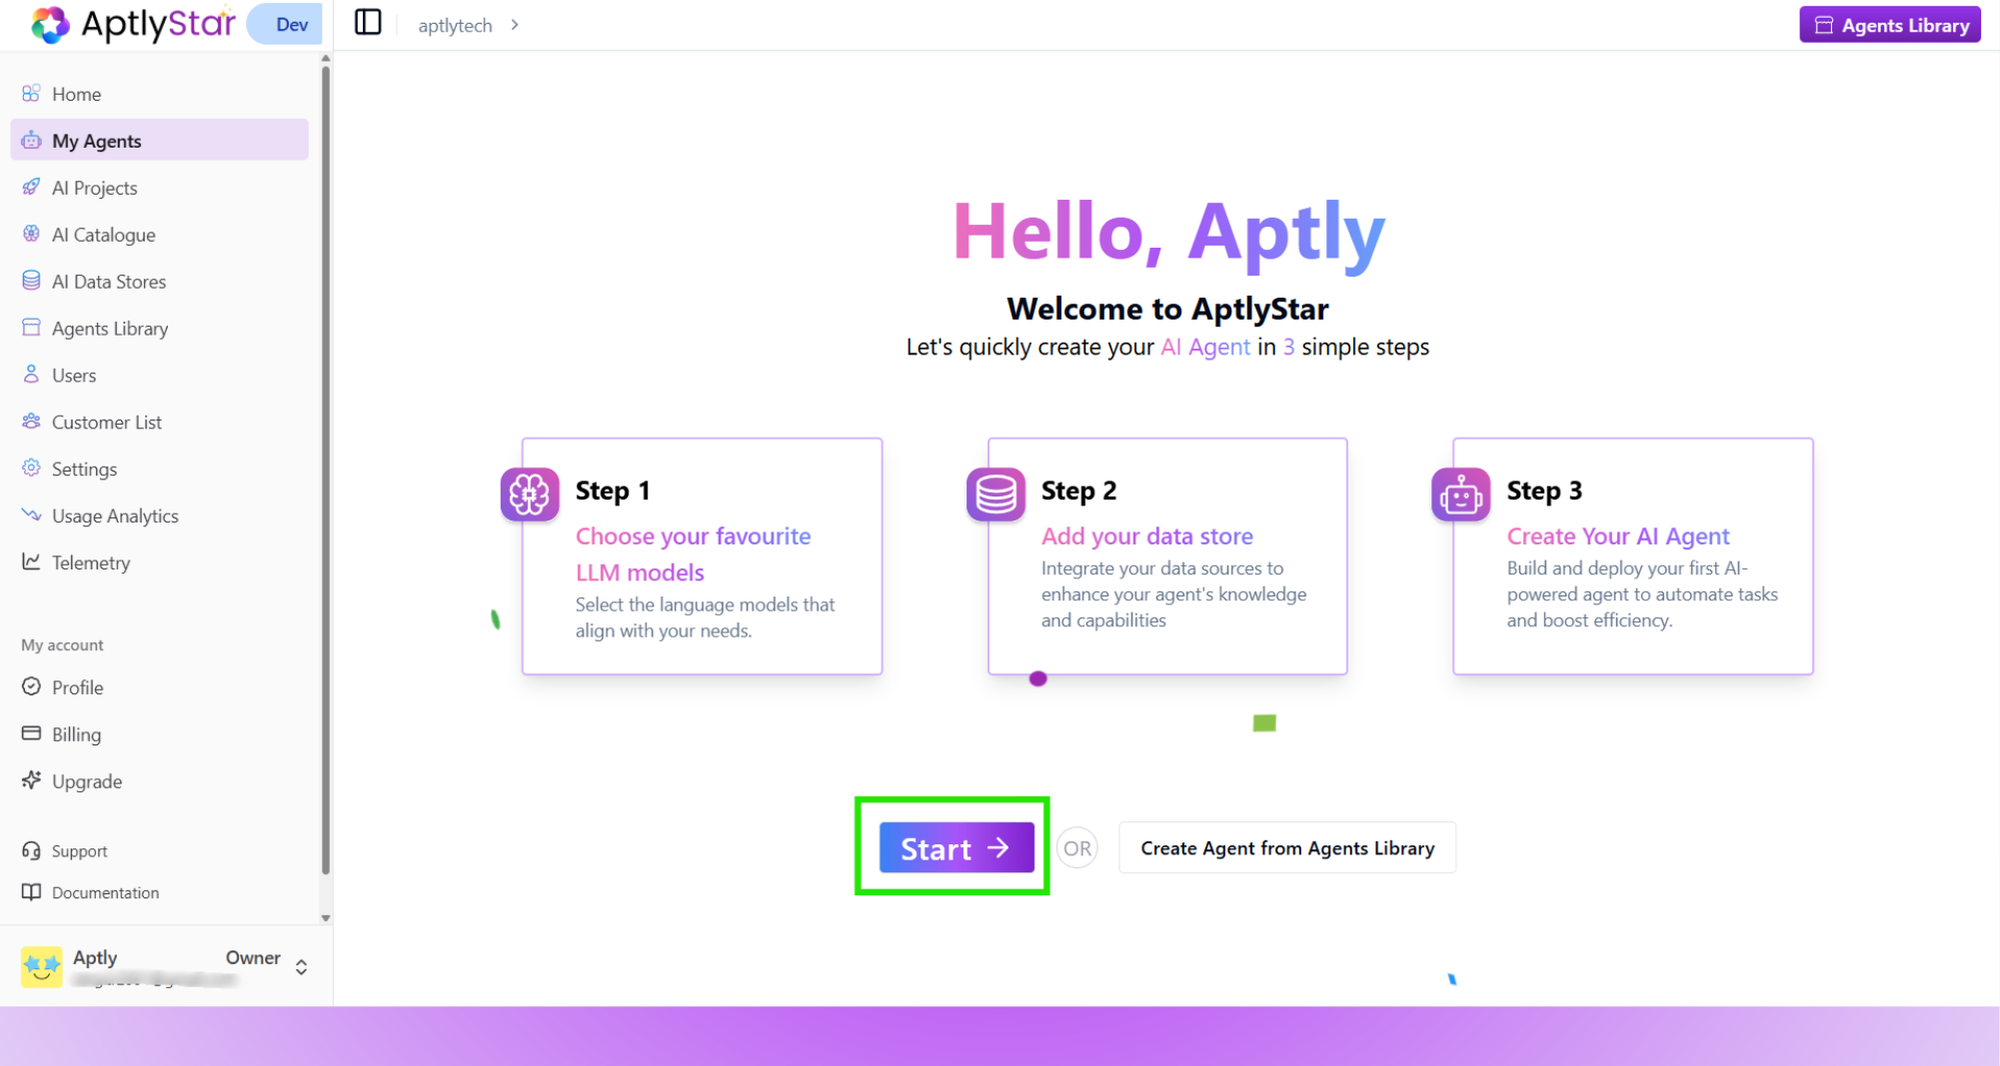
Start Agent Creation
You can begin agent creation from multiple entry points:From the Home screen, click on Start under Create AI Agents.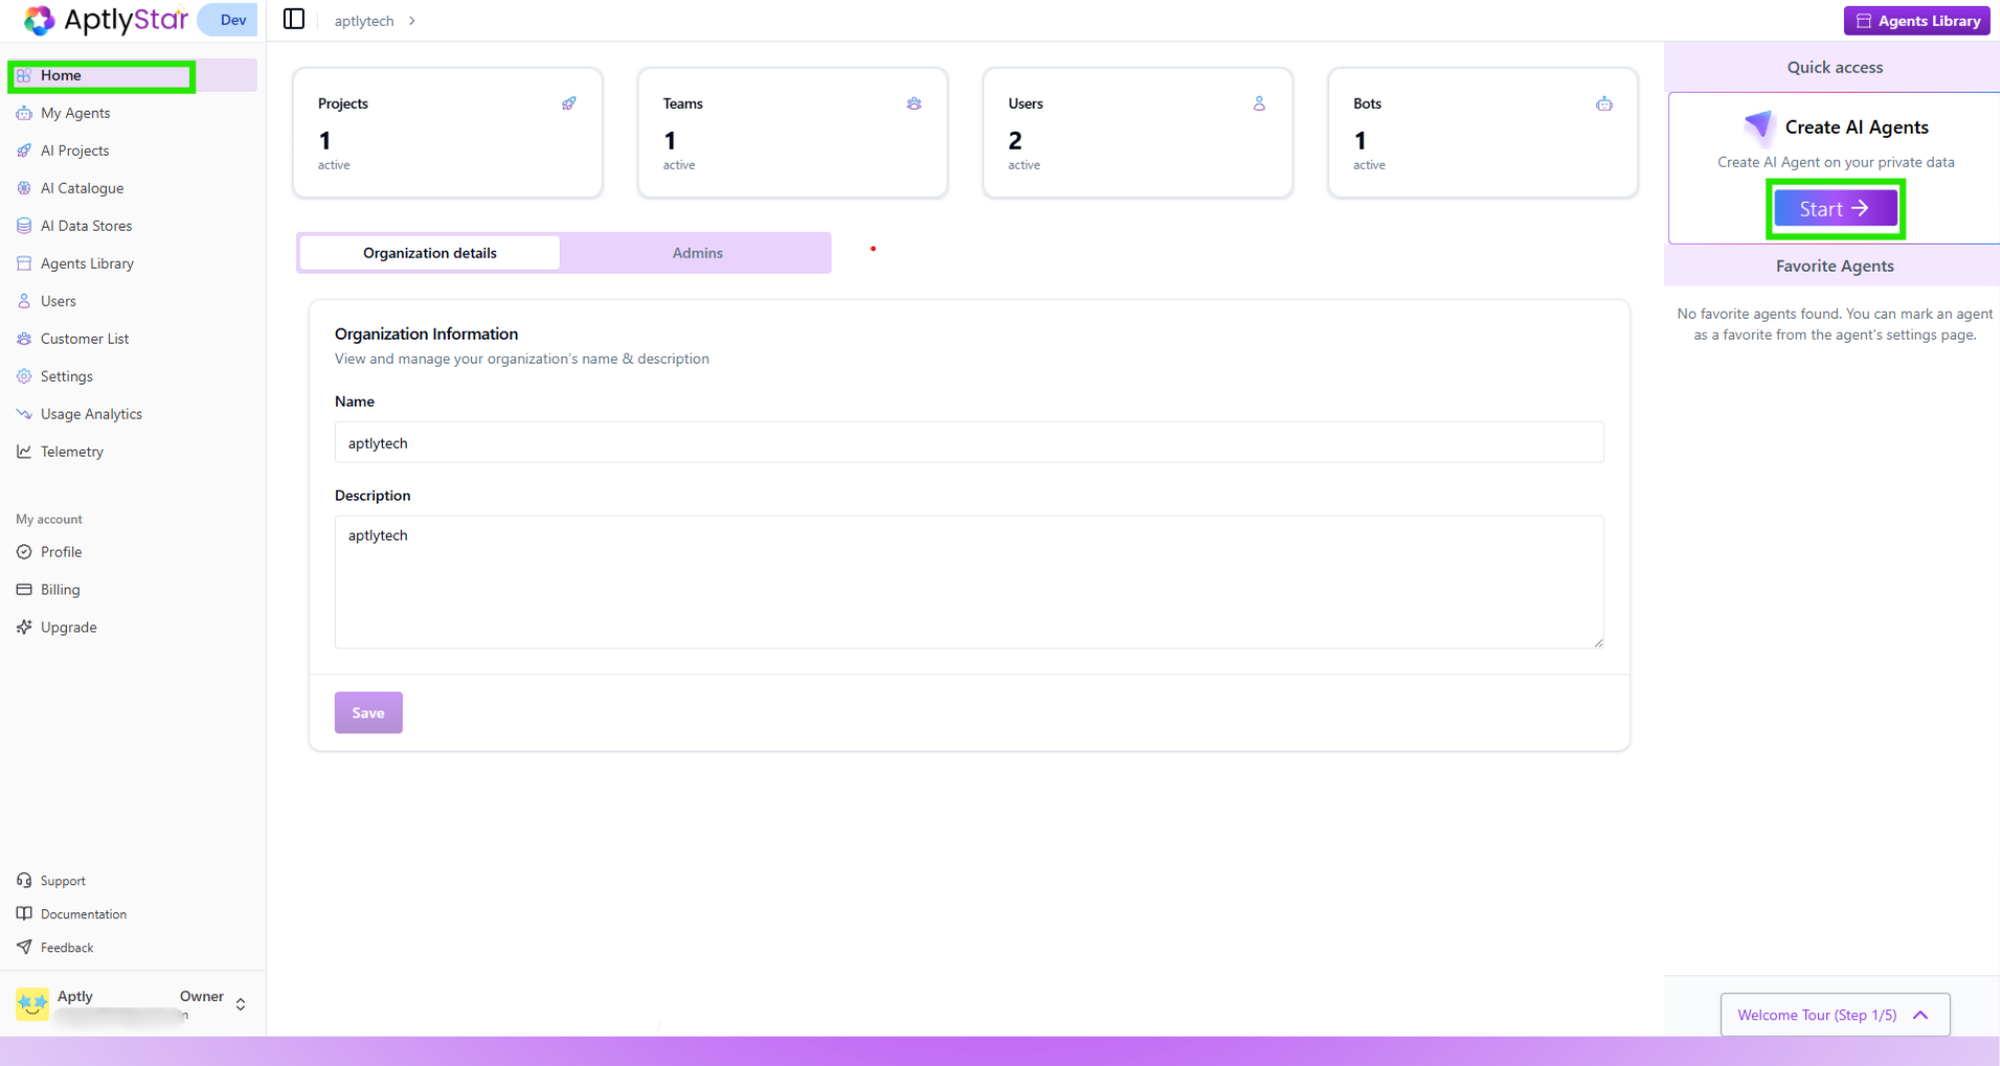
Step 1: Add LLM & Embedding Models
Start by adding the necessary AI models for your Agent.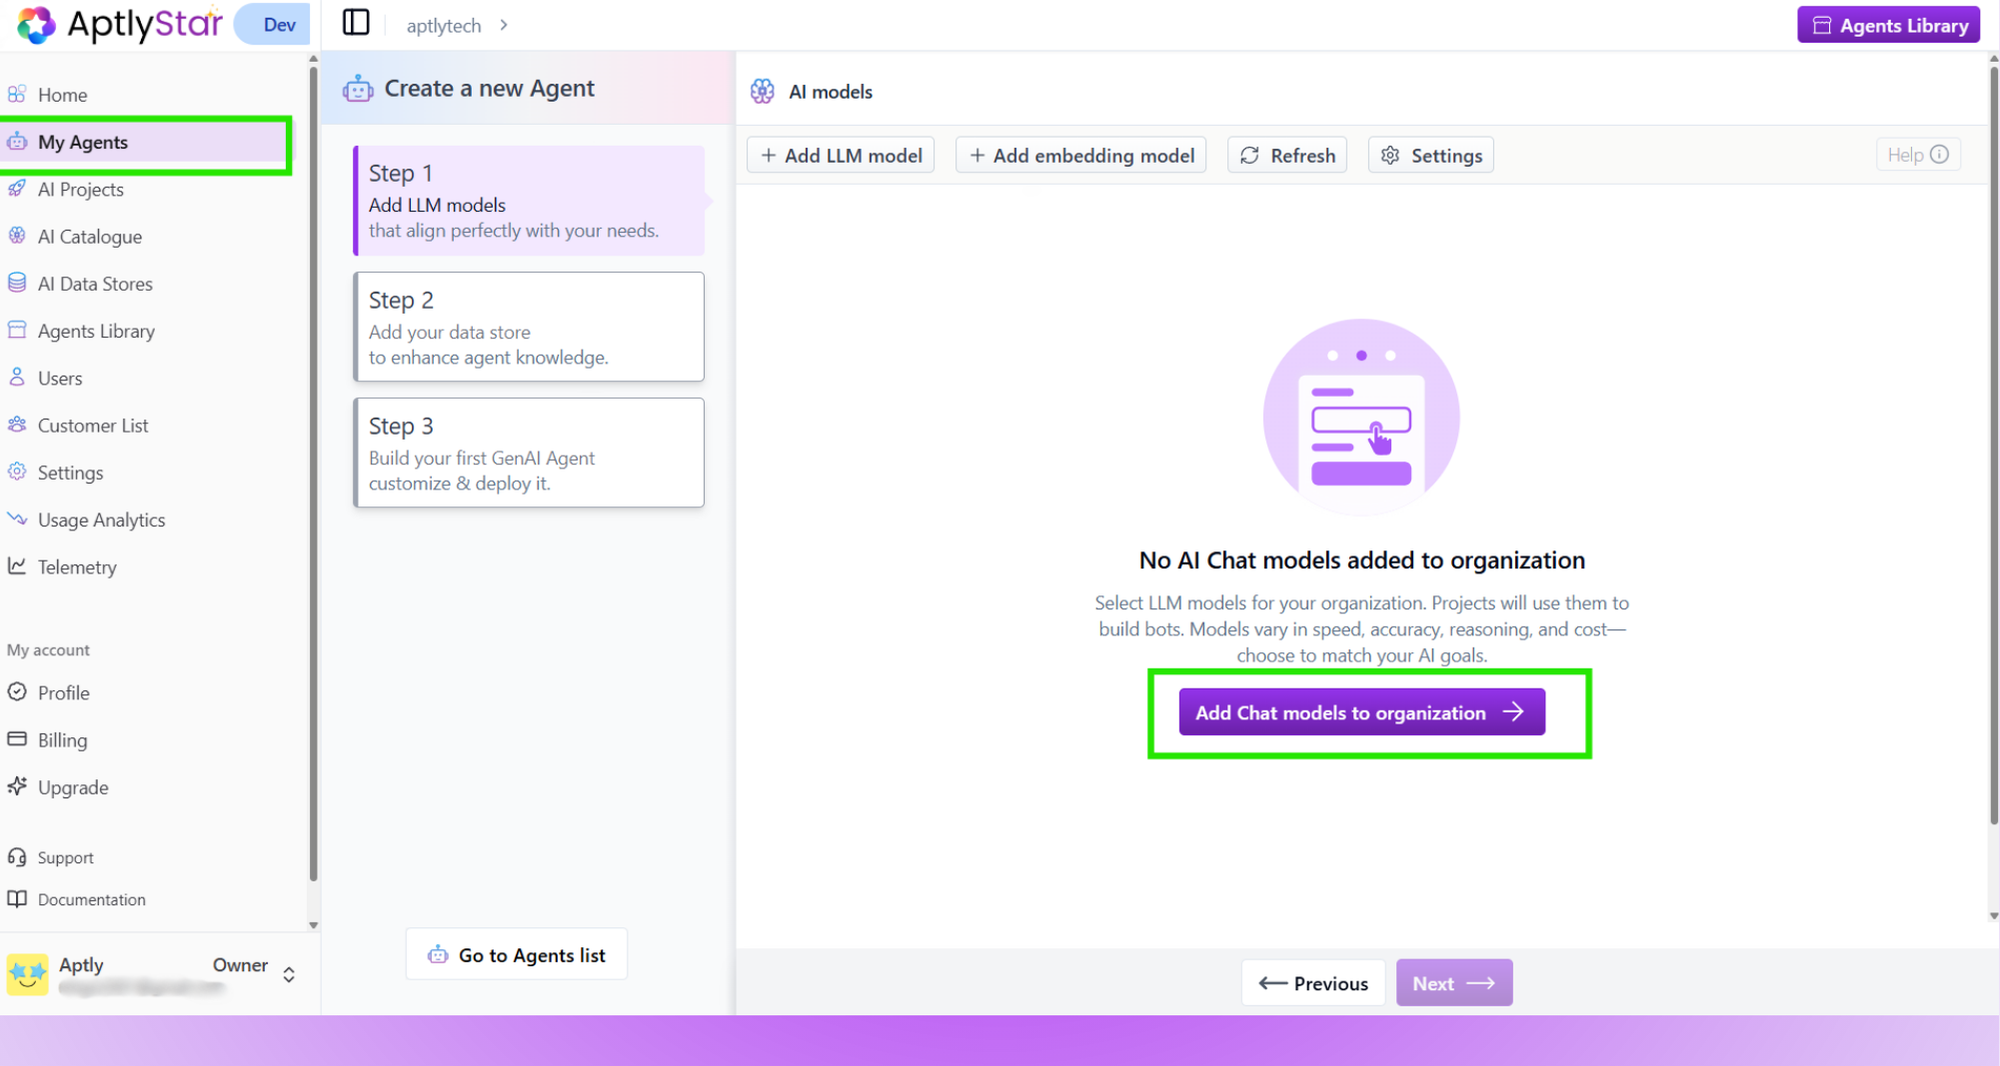
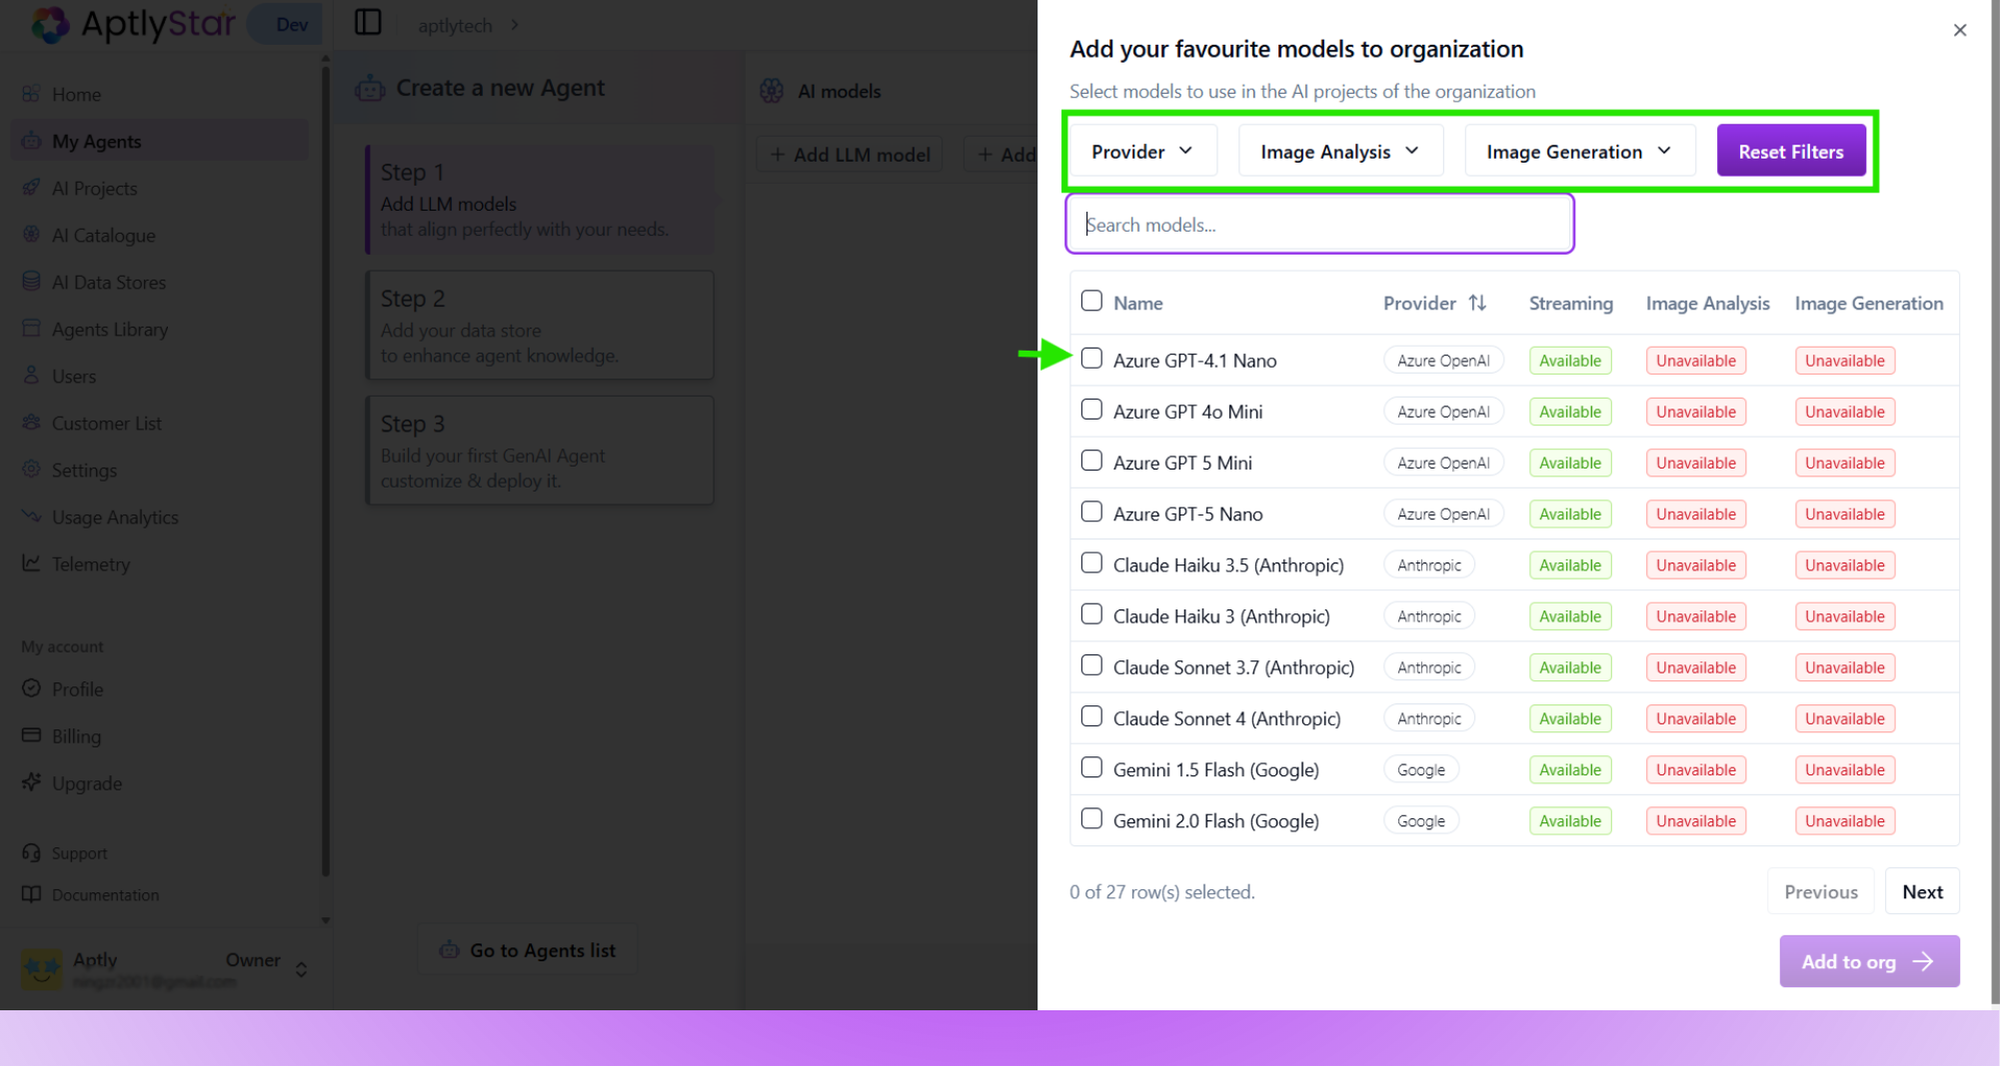
- Click Add AI model and choose a supported LLM (e.g., GPT-4o).
- Use the filters at the top of the selection modal to refine results:
- Provider Filter – show models from a specific provider (e.g., OpenAI, Anthropic, Azure)
- Capability Filters – such as Image Analysis, to quickly find multimodal models that support vision tasks
- Select one or more models from the filtered list
- Click Add to org to complete
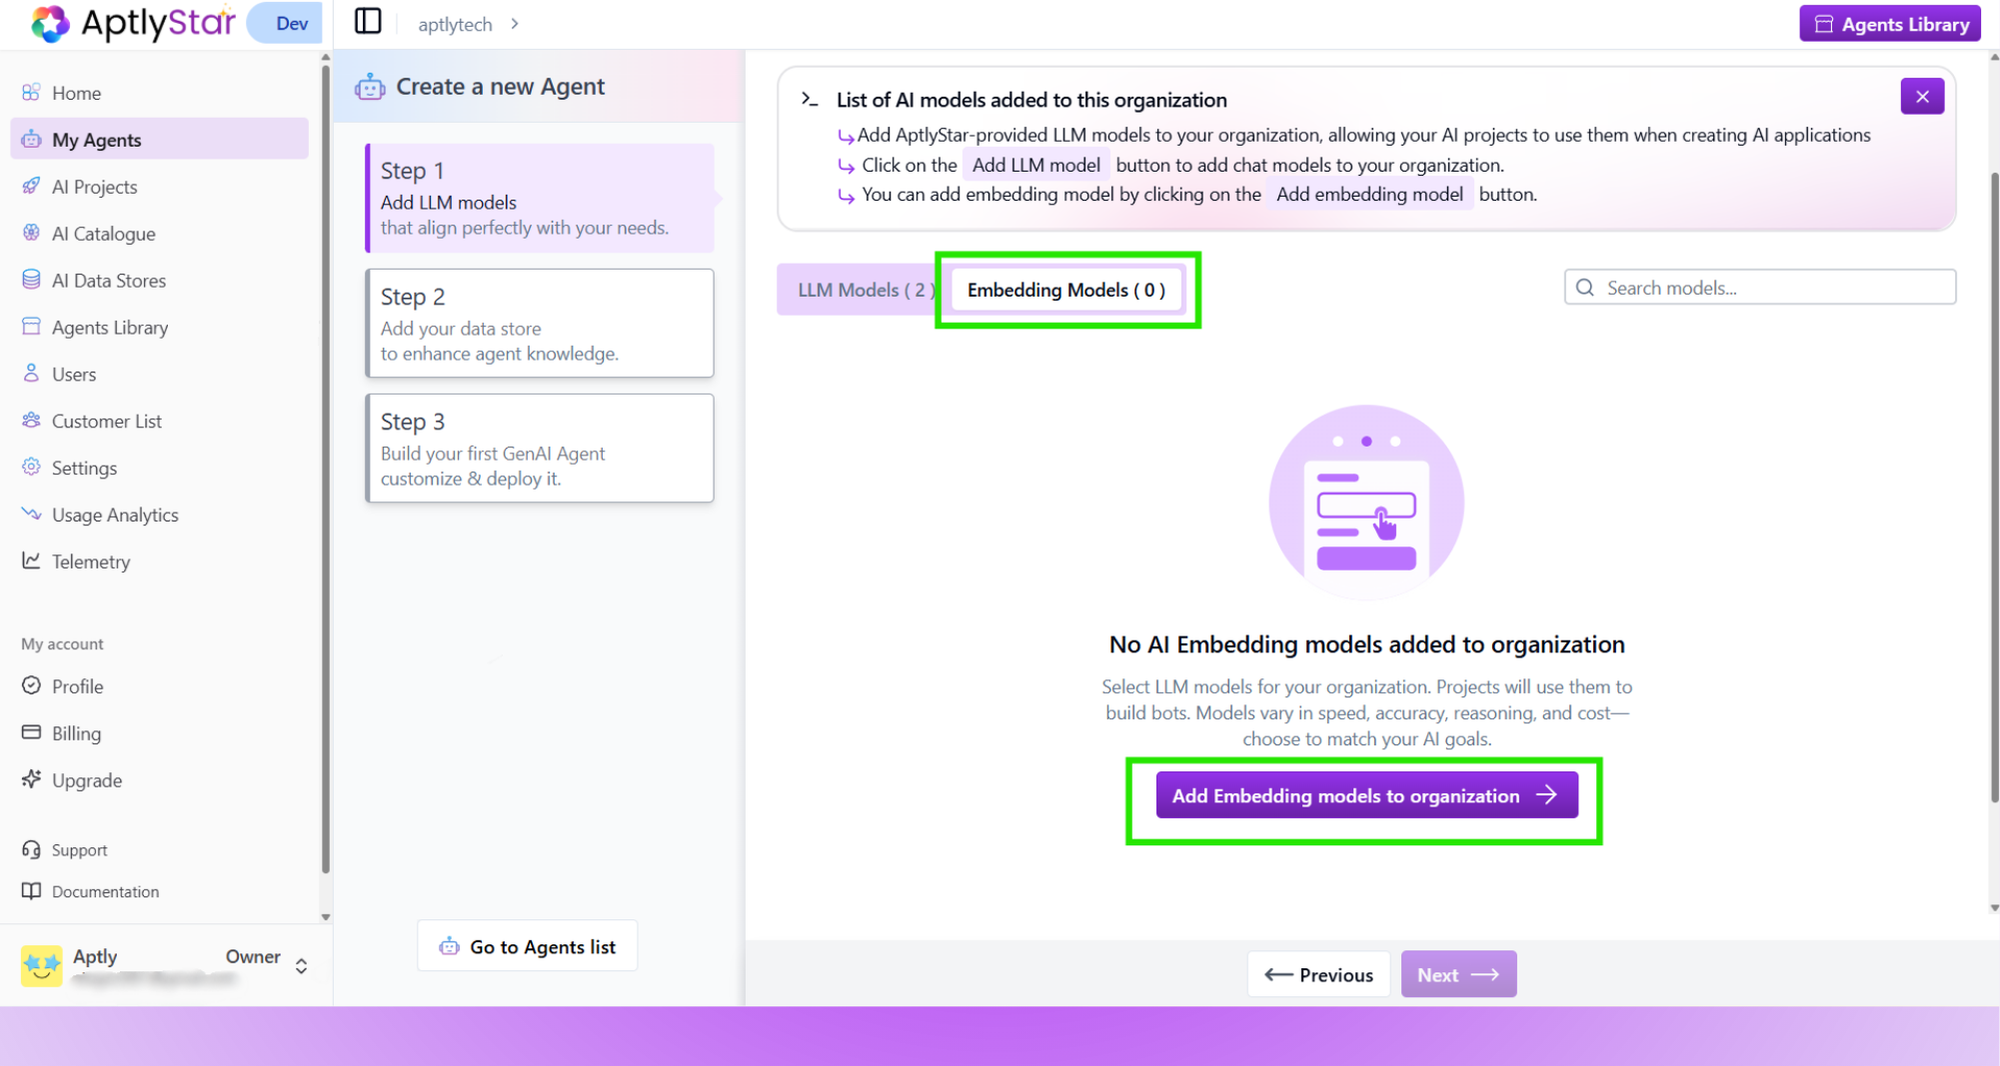
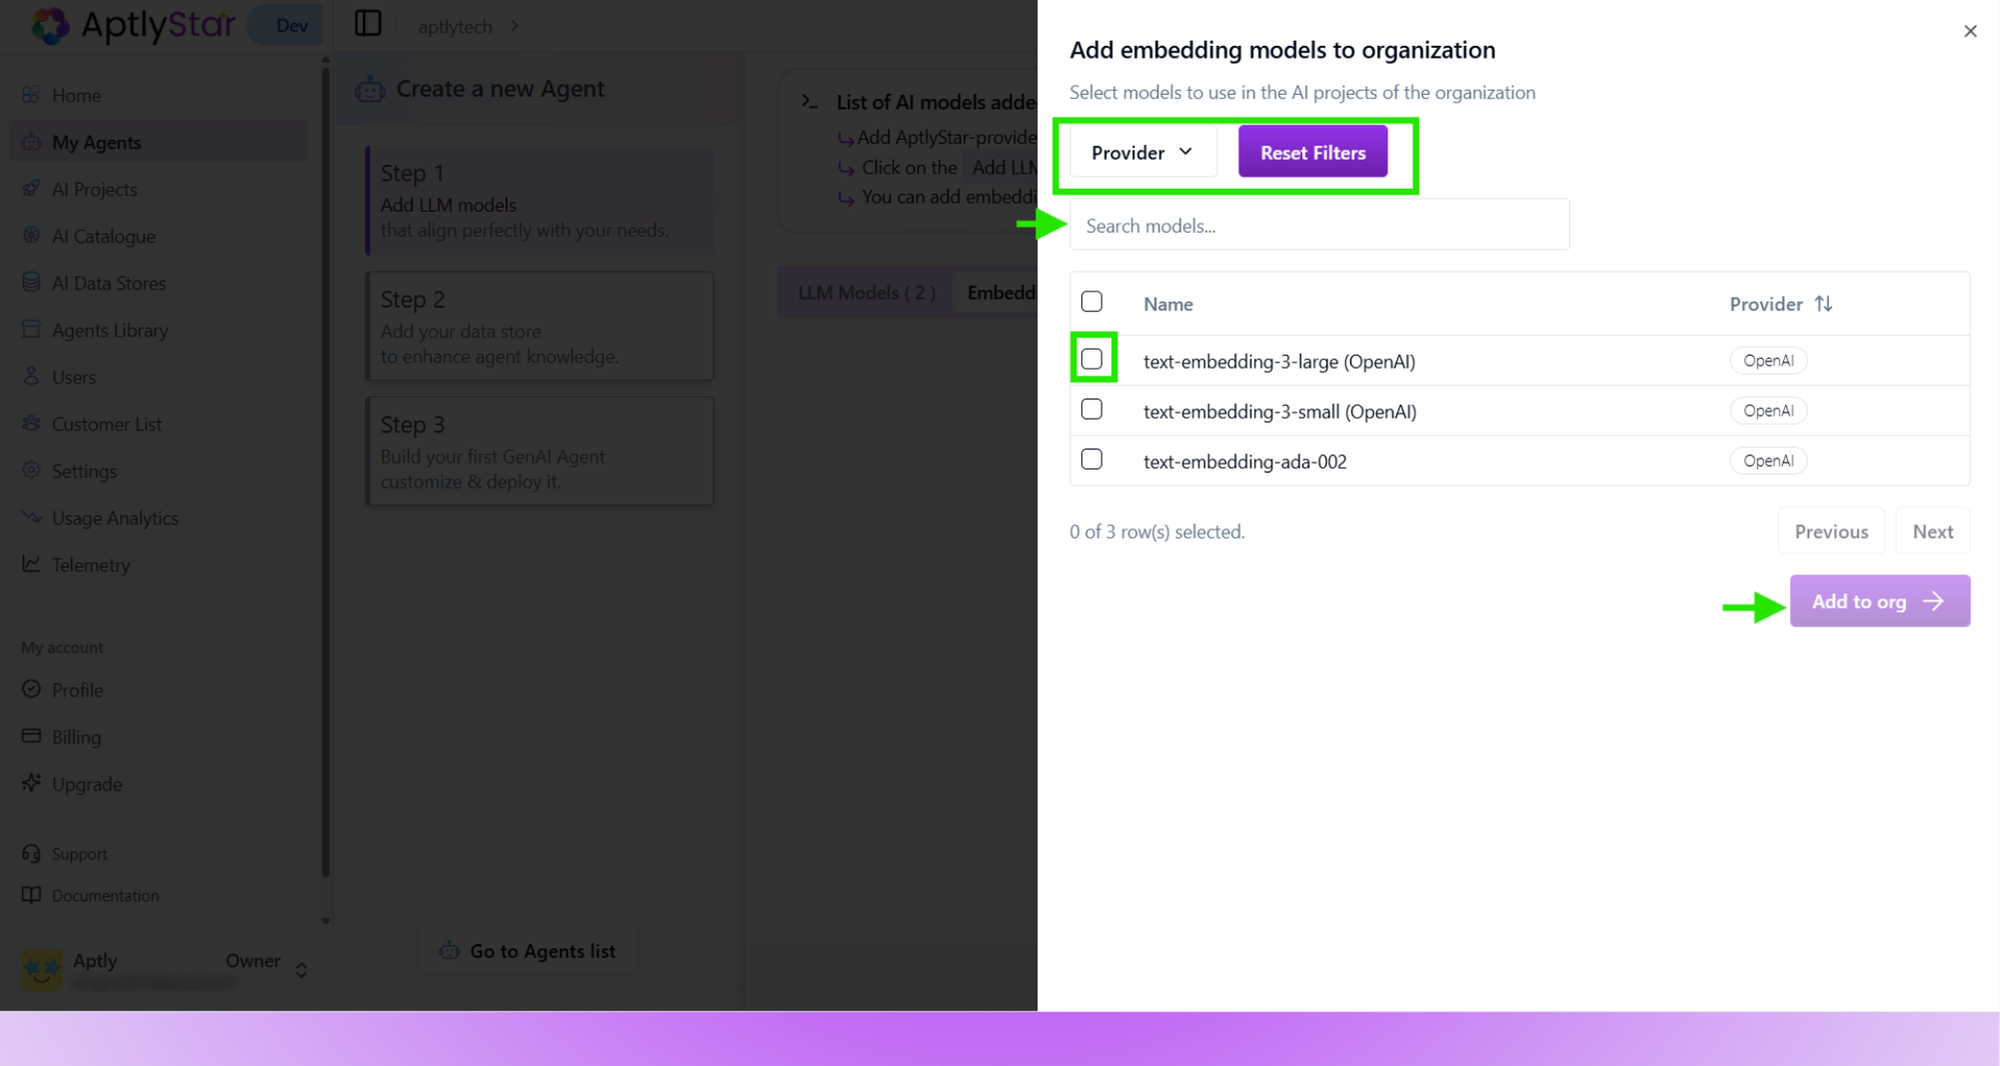
- Switch to the Embedding Models tab and click Add embedding model.
- Choose a model like
text-embedding-3-largeand add it to your org.
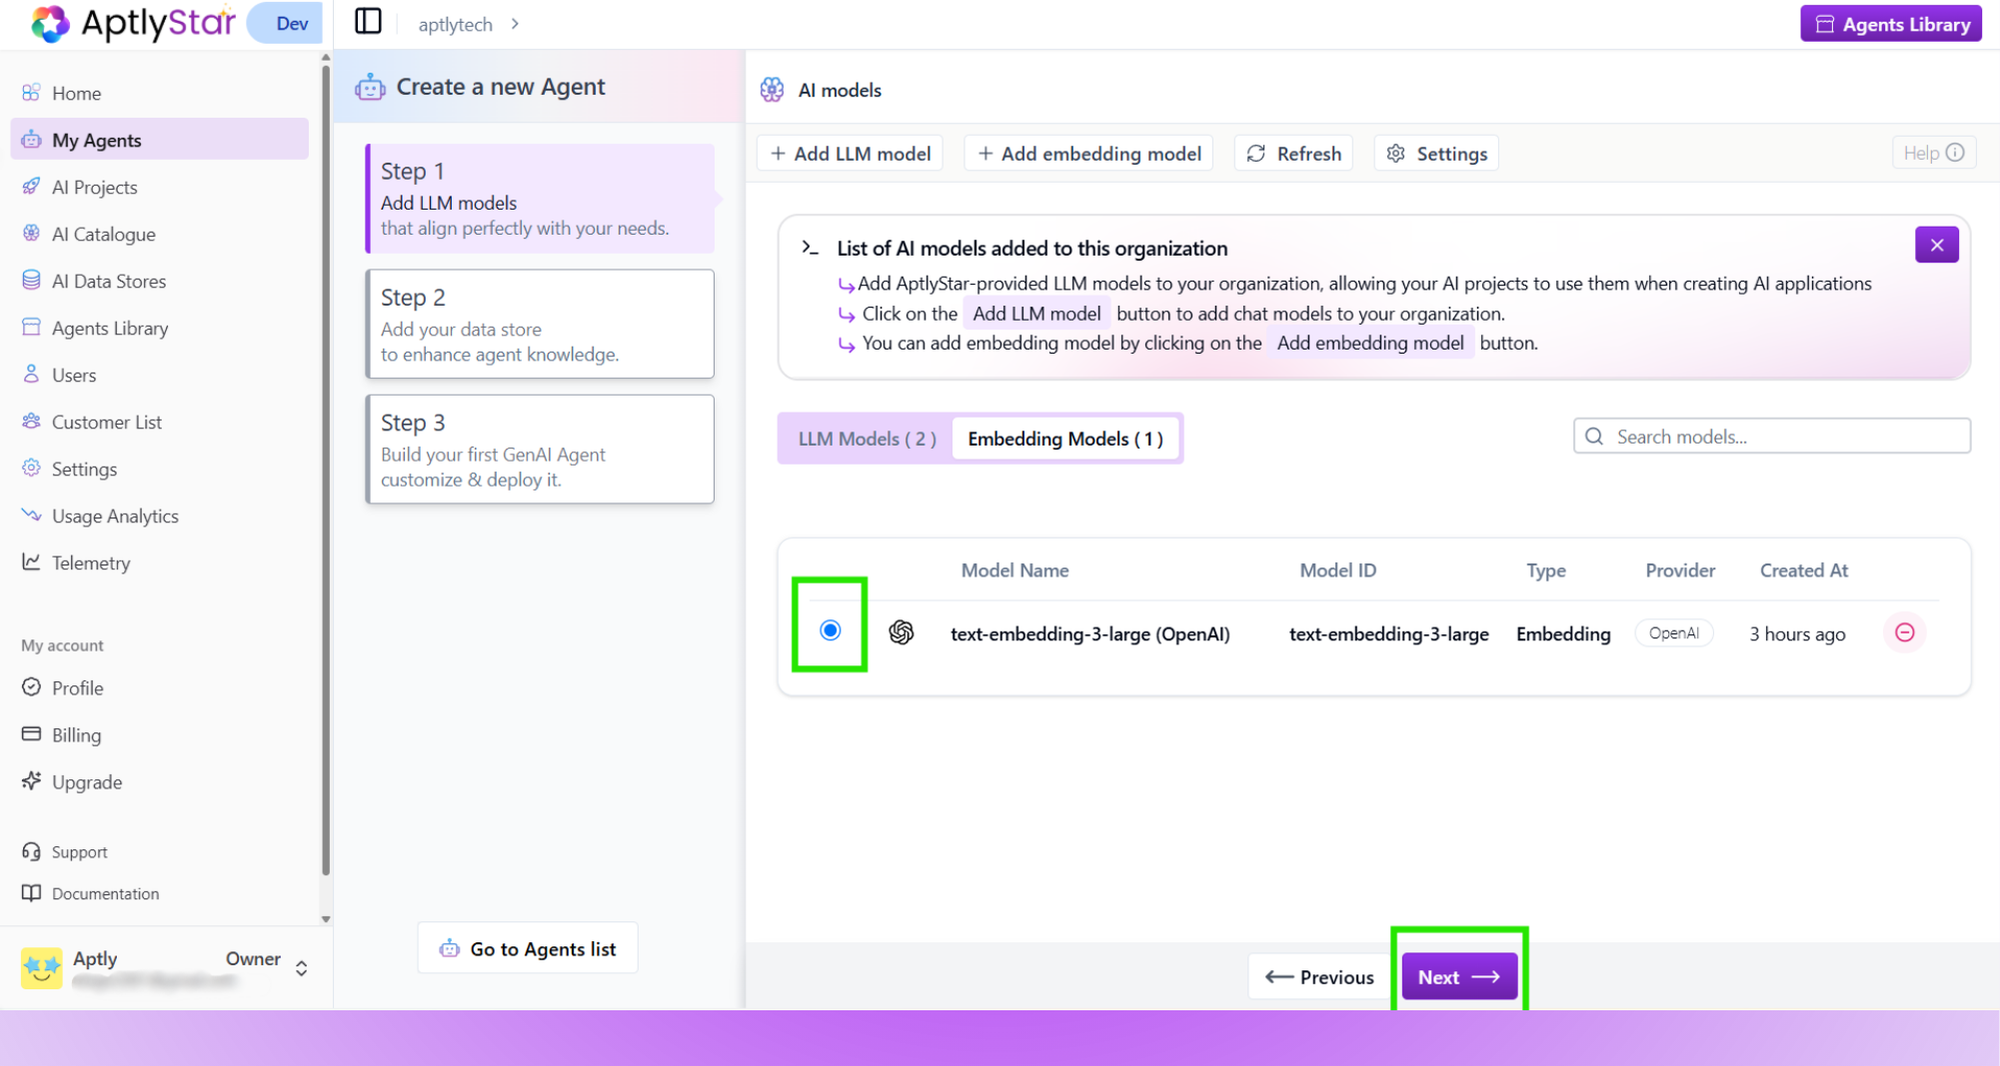
- Ensure a model is selected before moving to the next step. Click Next to proceed to Step 2.
Step 2: Create and Upload Data Store
In this step, you’ll prepare the knowledge base for your agent.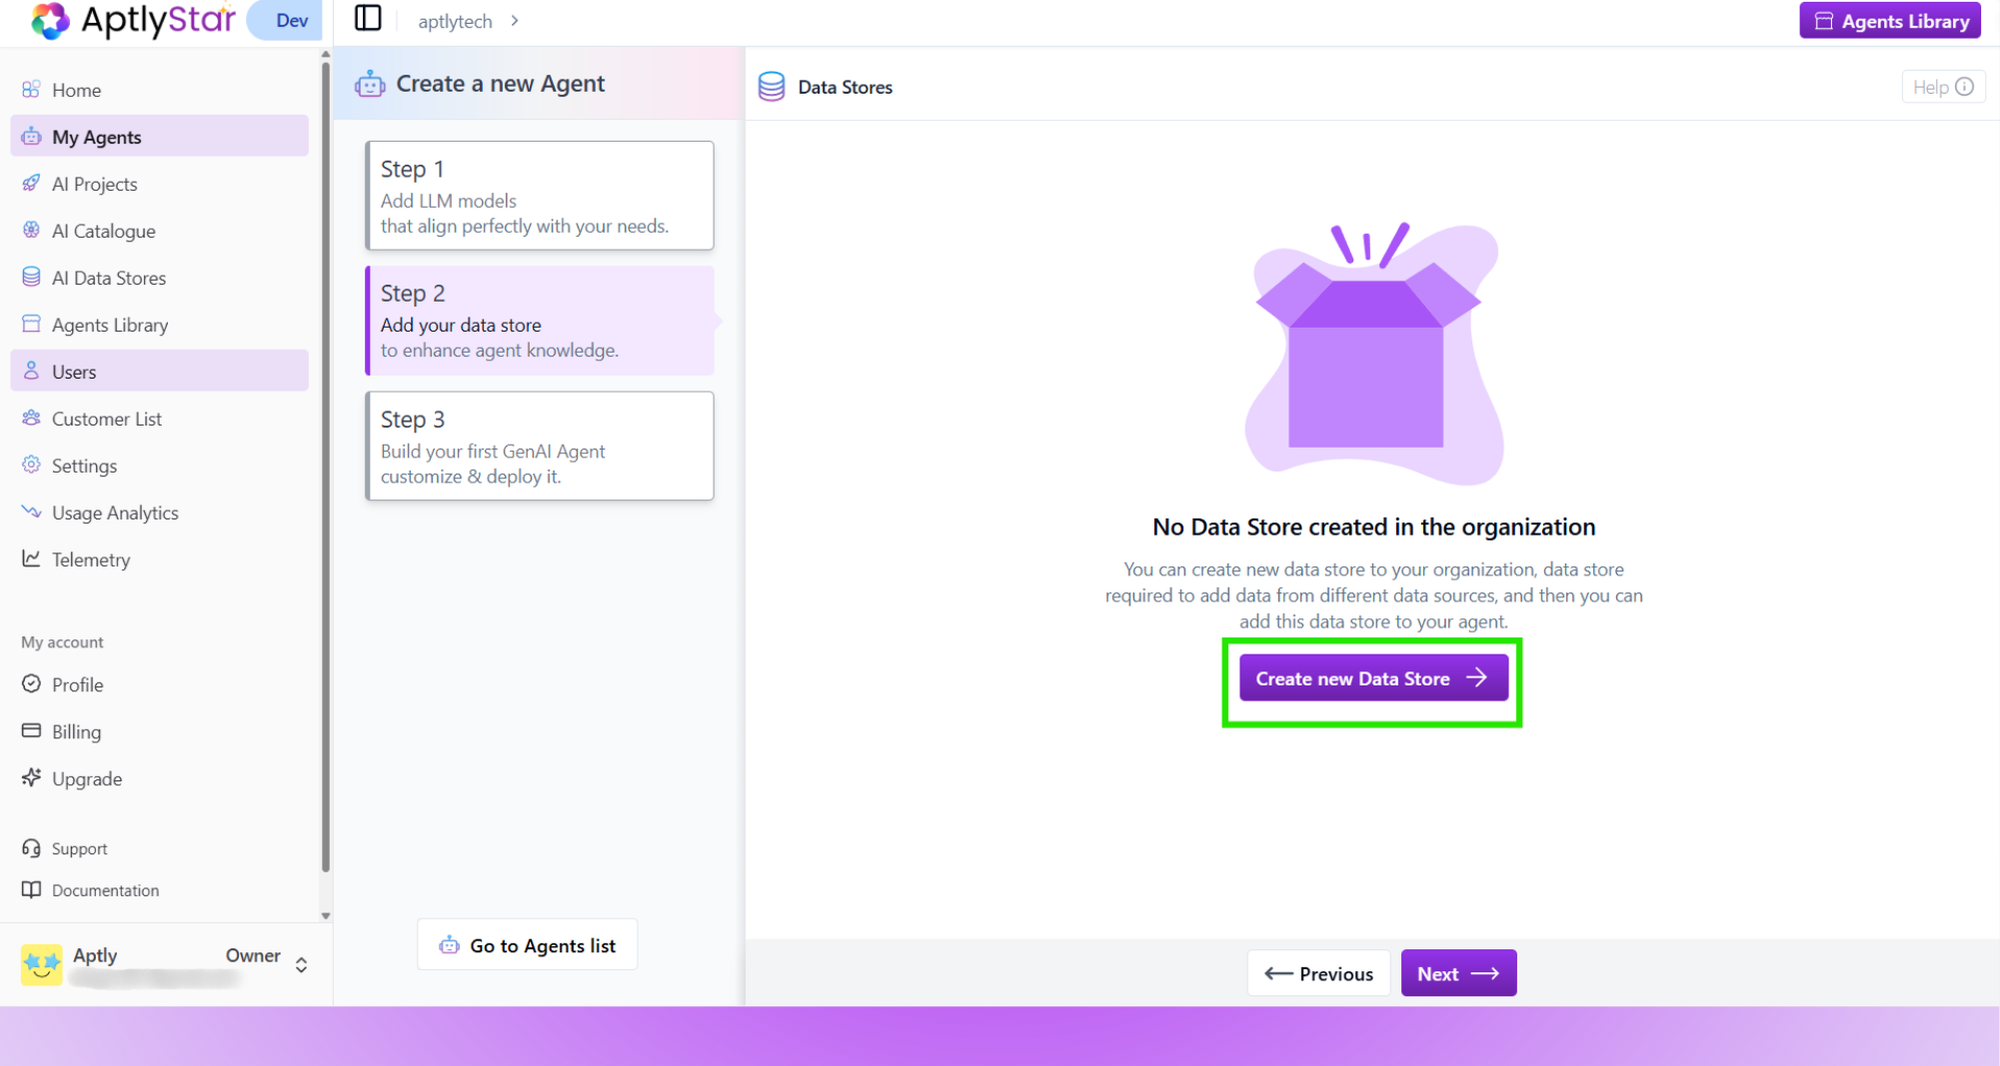
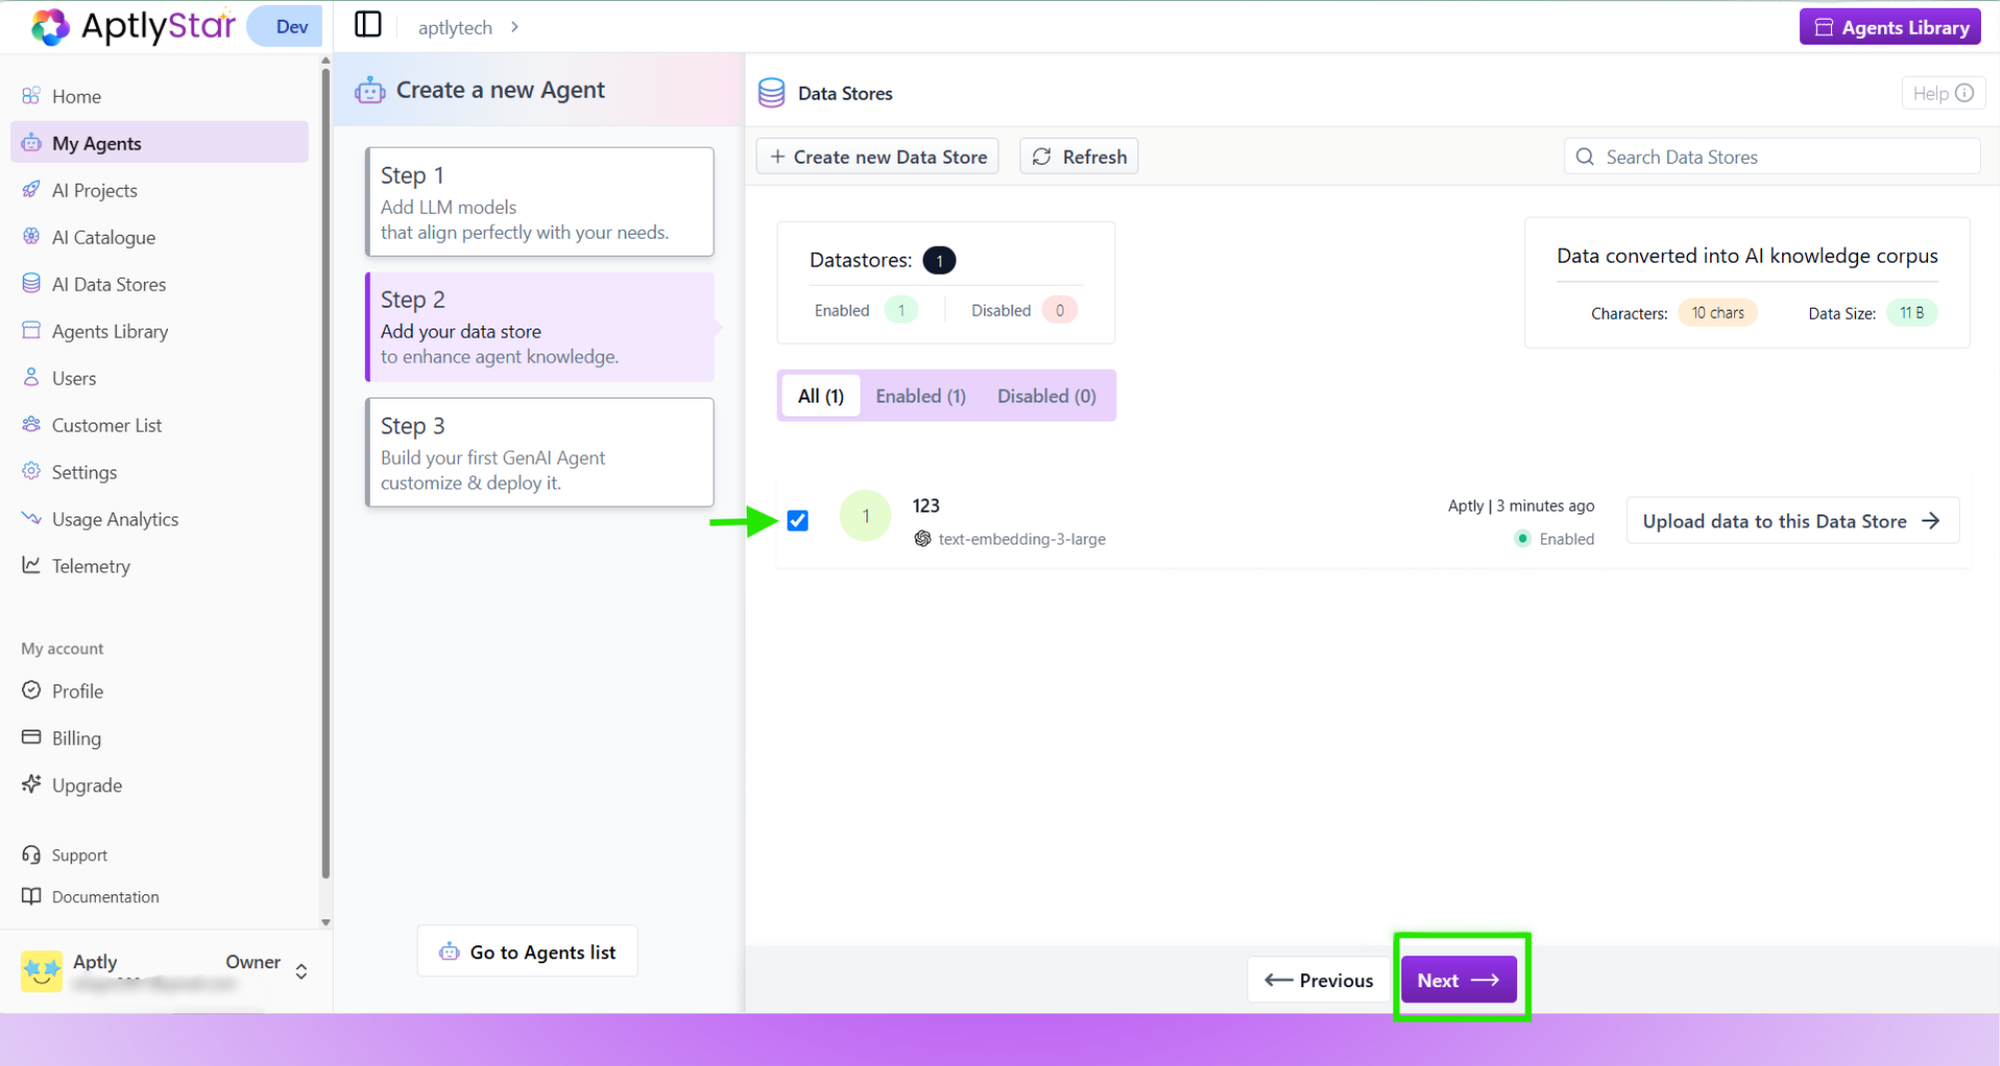
- Click Go to data store to upload data.
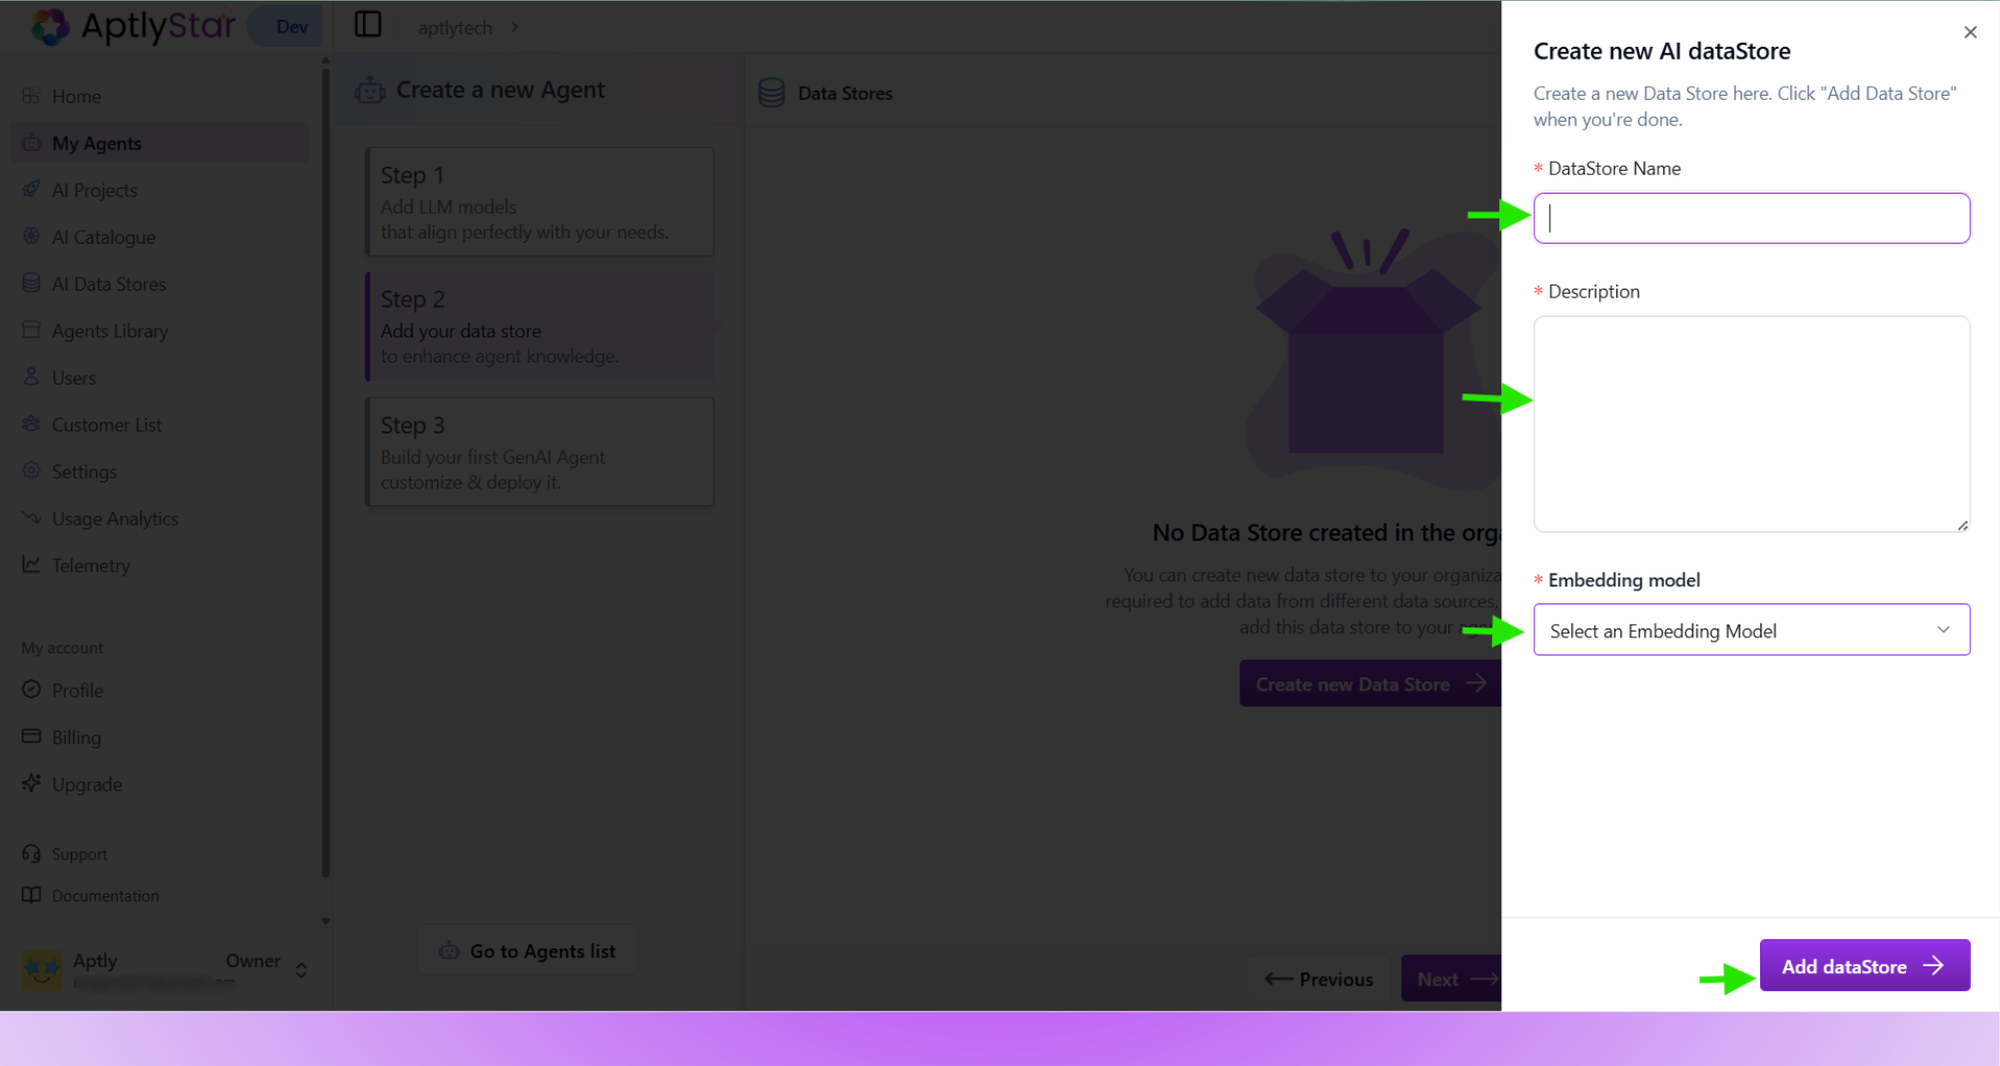
- Click Create new Data Store and fill in the details including the embedding model.
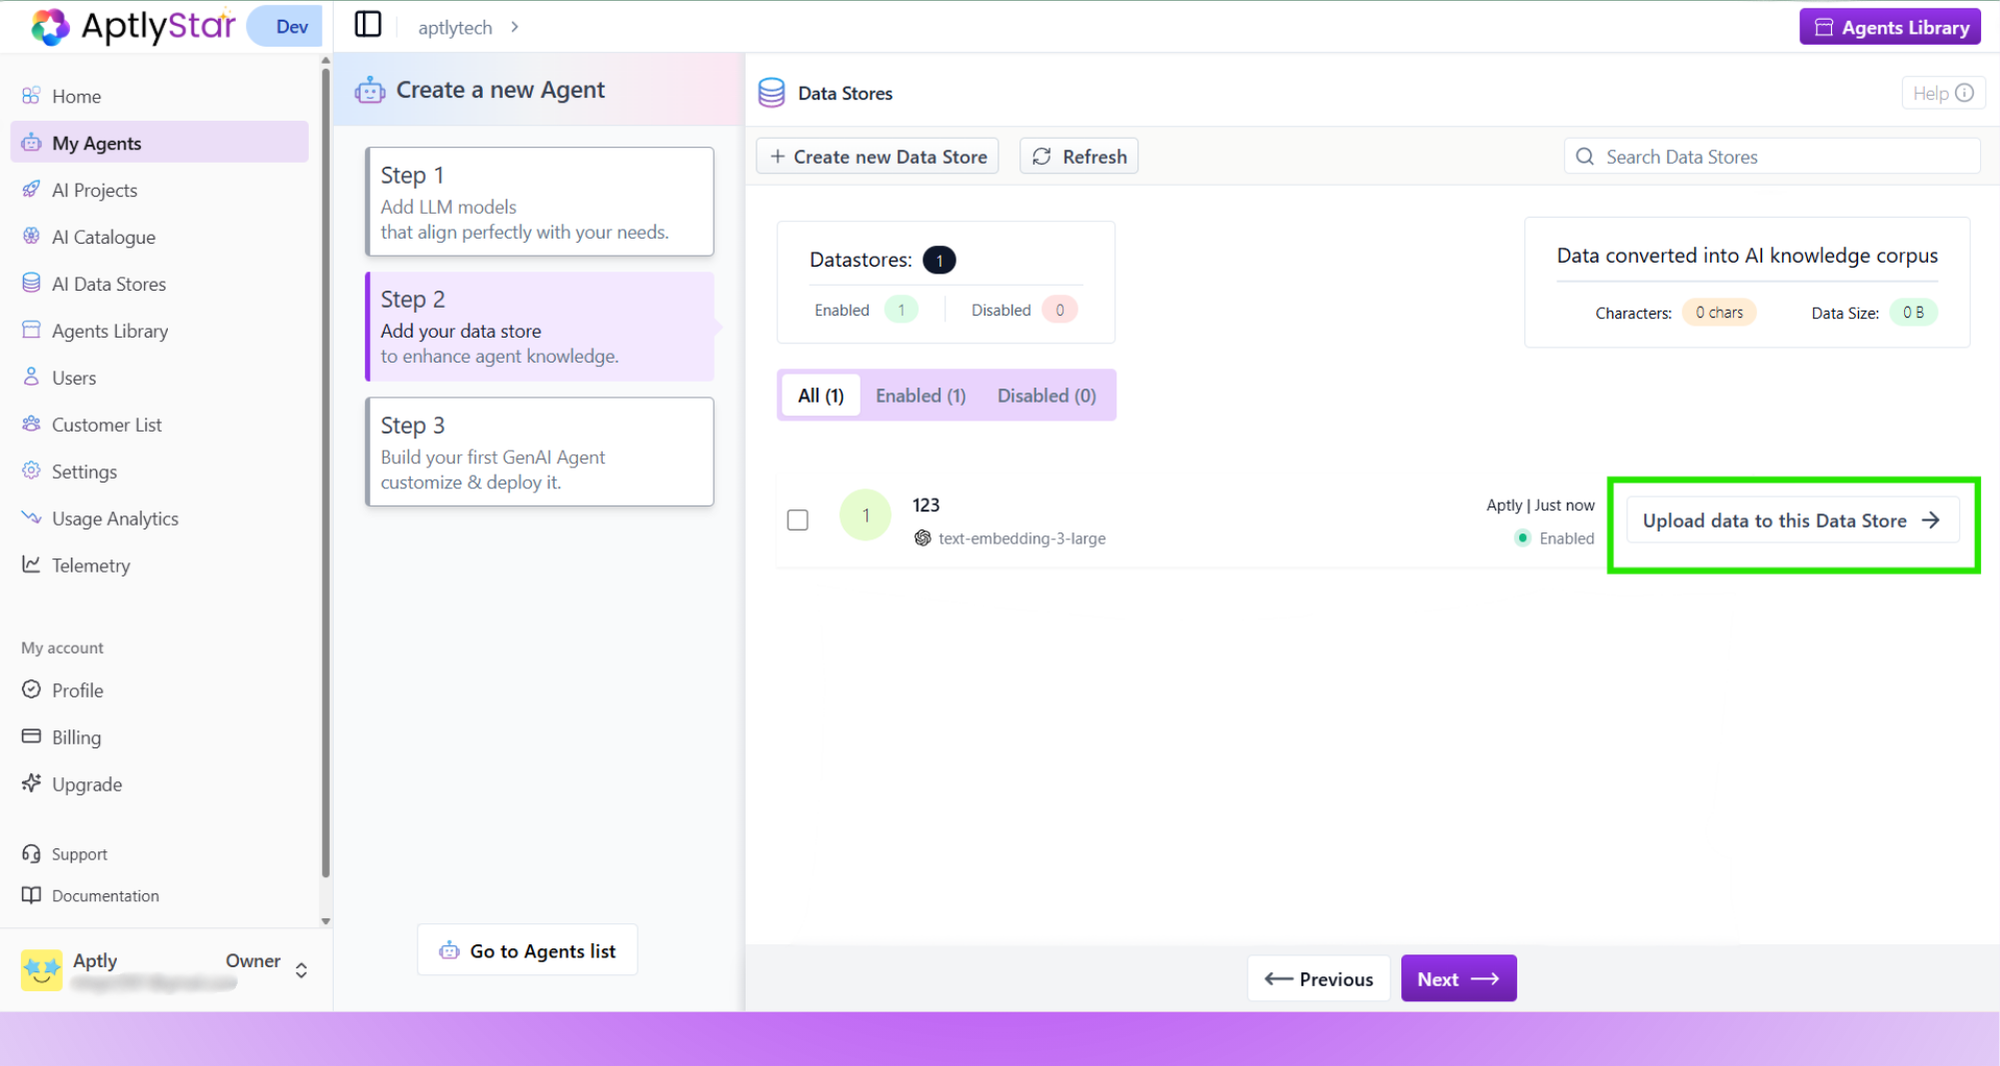
- Once created, click Upload data to this Data Store.
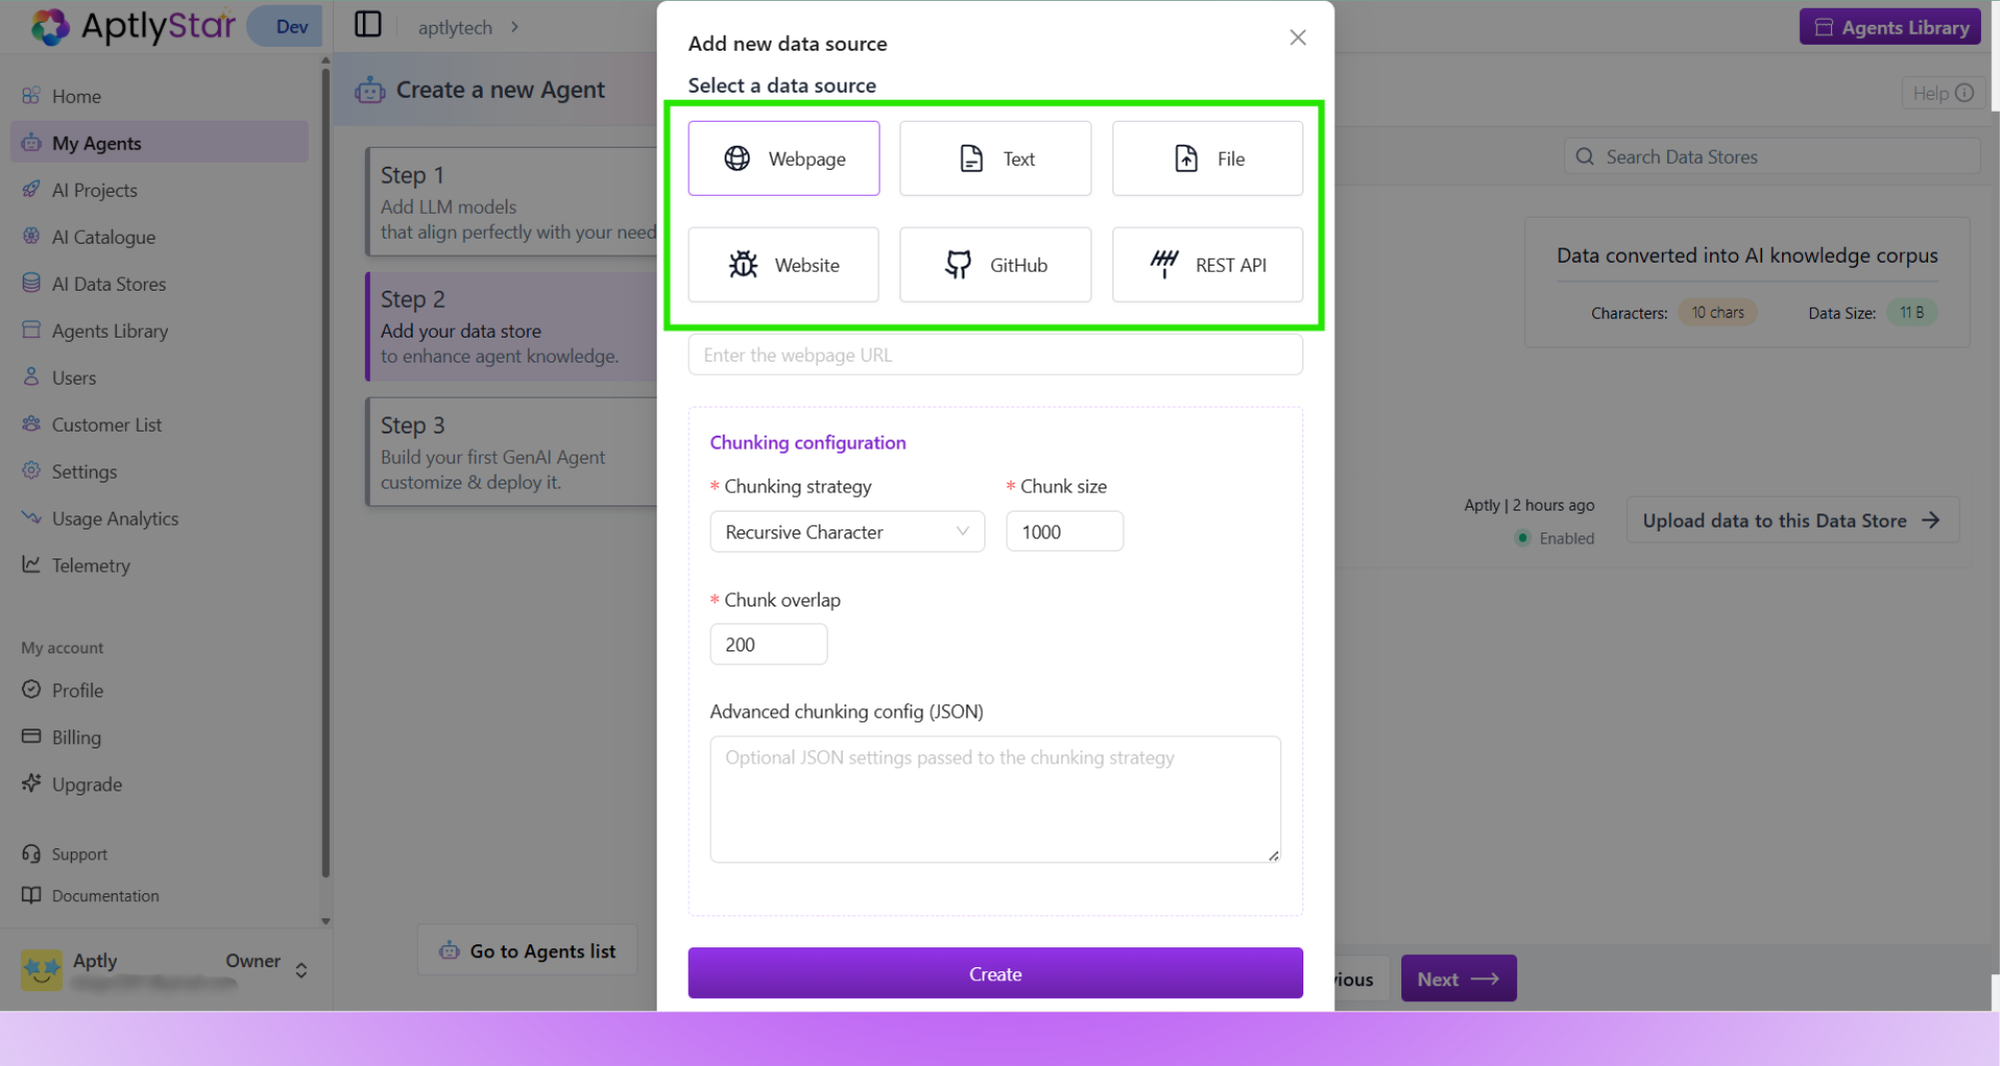
- Choose the data source (Webpage, Text, File, YouTube, or REST API).
- After uploading, select the data store to associate with your agent and click Next.
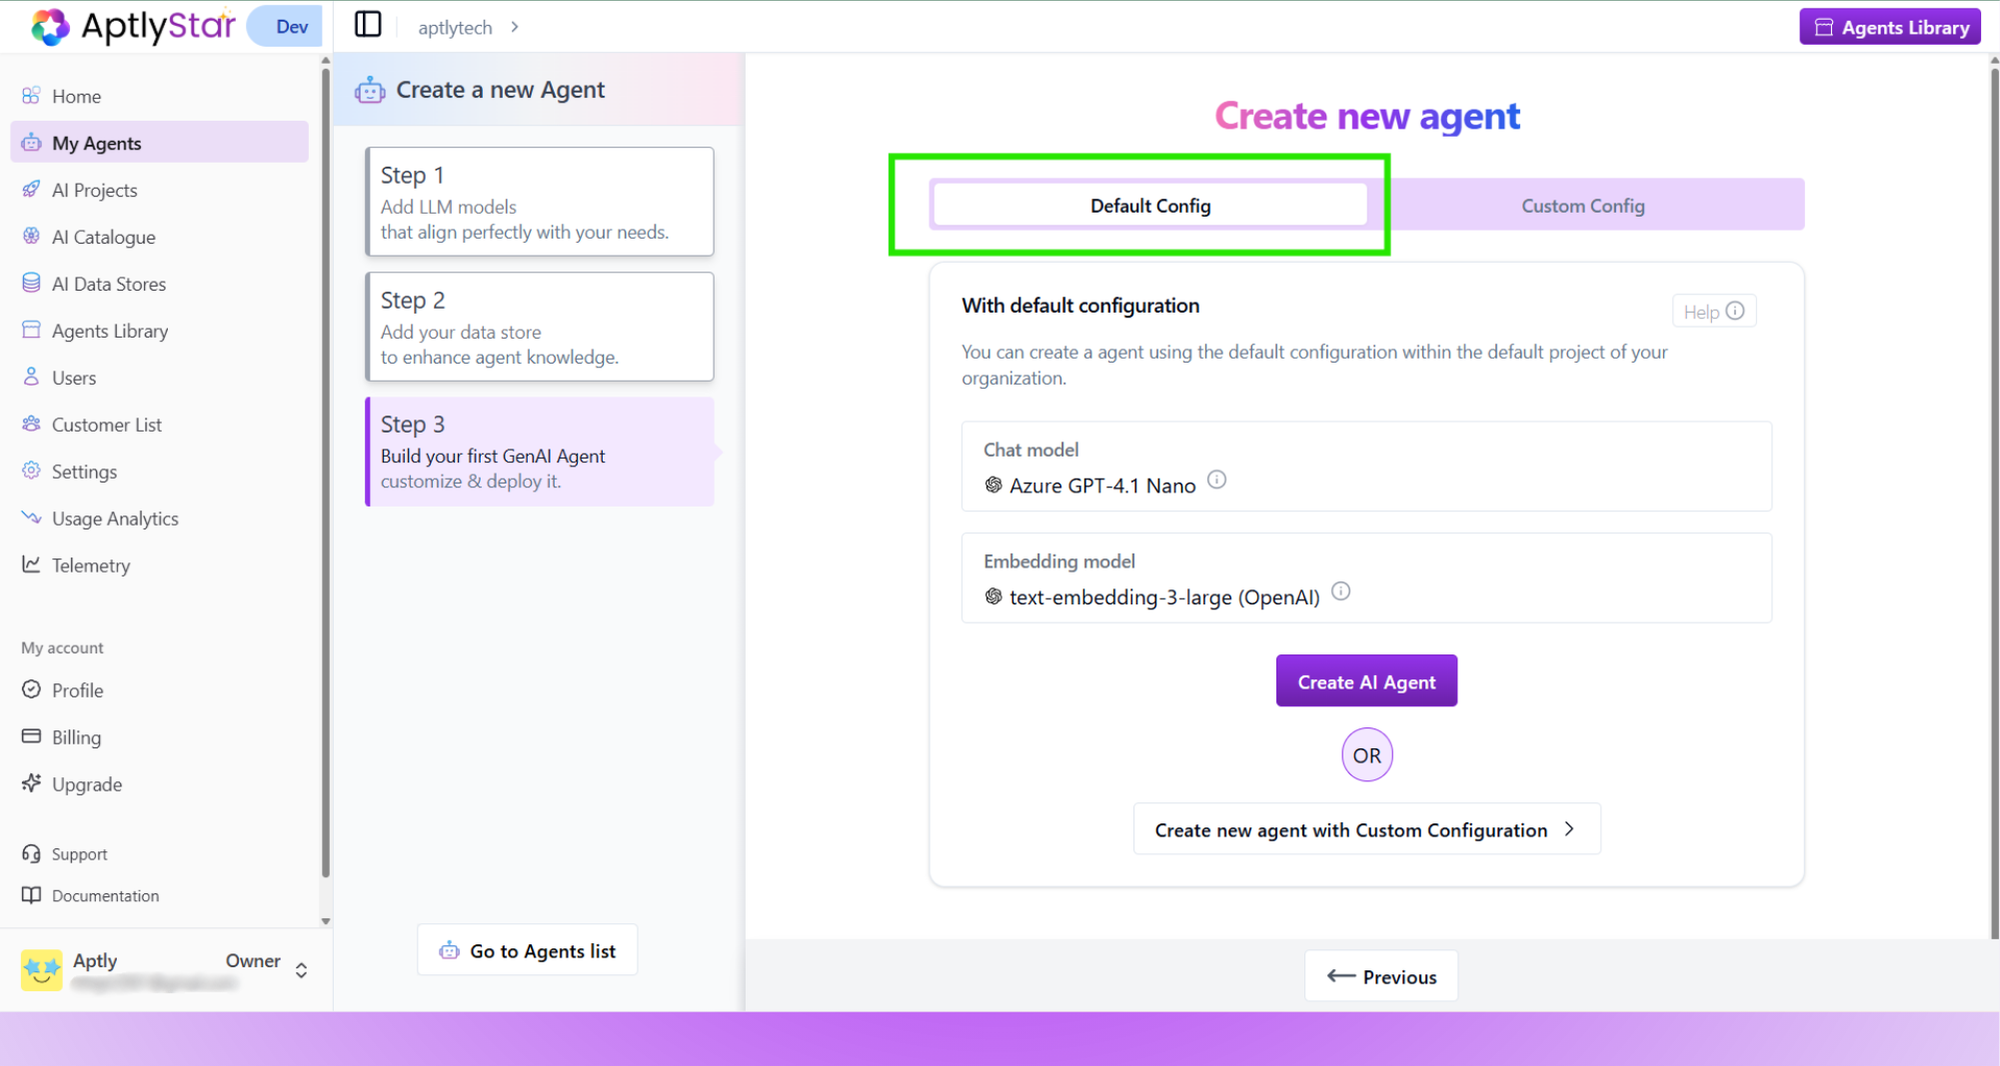
Step 3: Configure & Create Agent
You can now finalize and deploy your agent using one of two options:Custom Configuration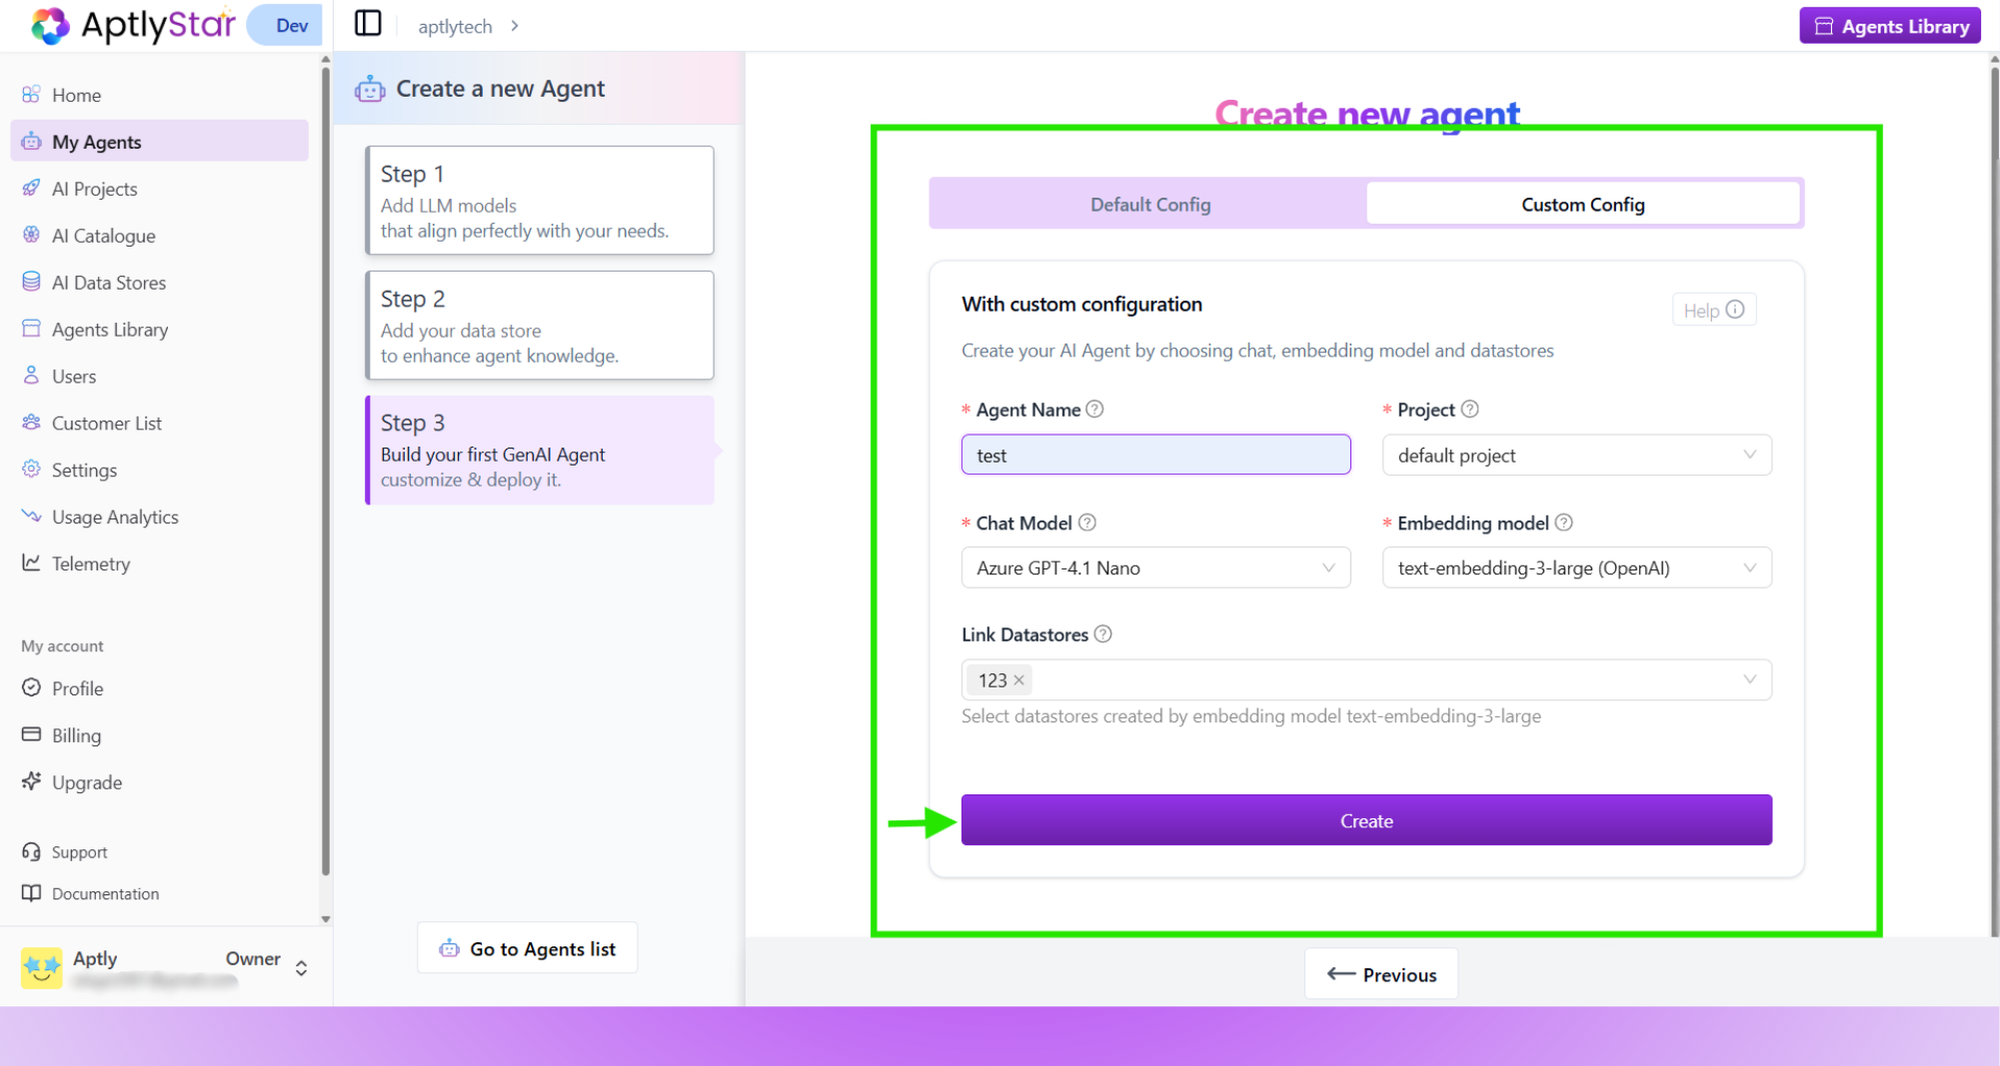
- Enter a name, choose chat model, embedding model, and link your data store.
- Click Create to finish.
- Uses preselected models for fast setup.
- Simply click Create AI Agent.